
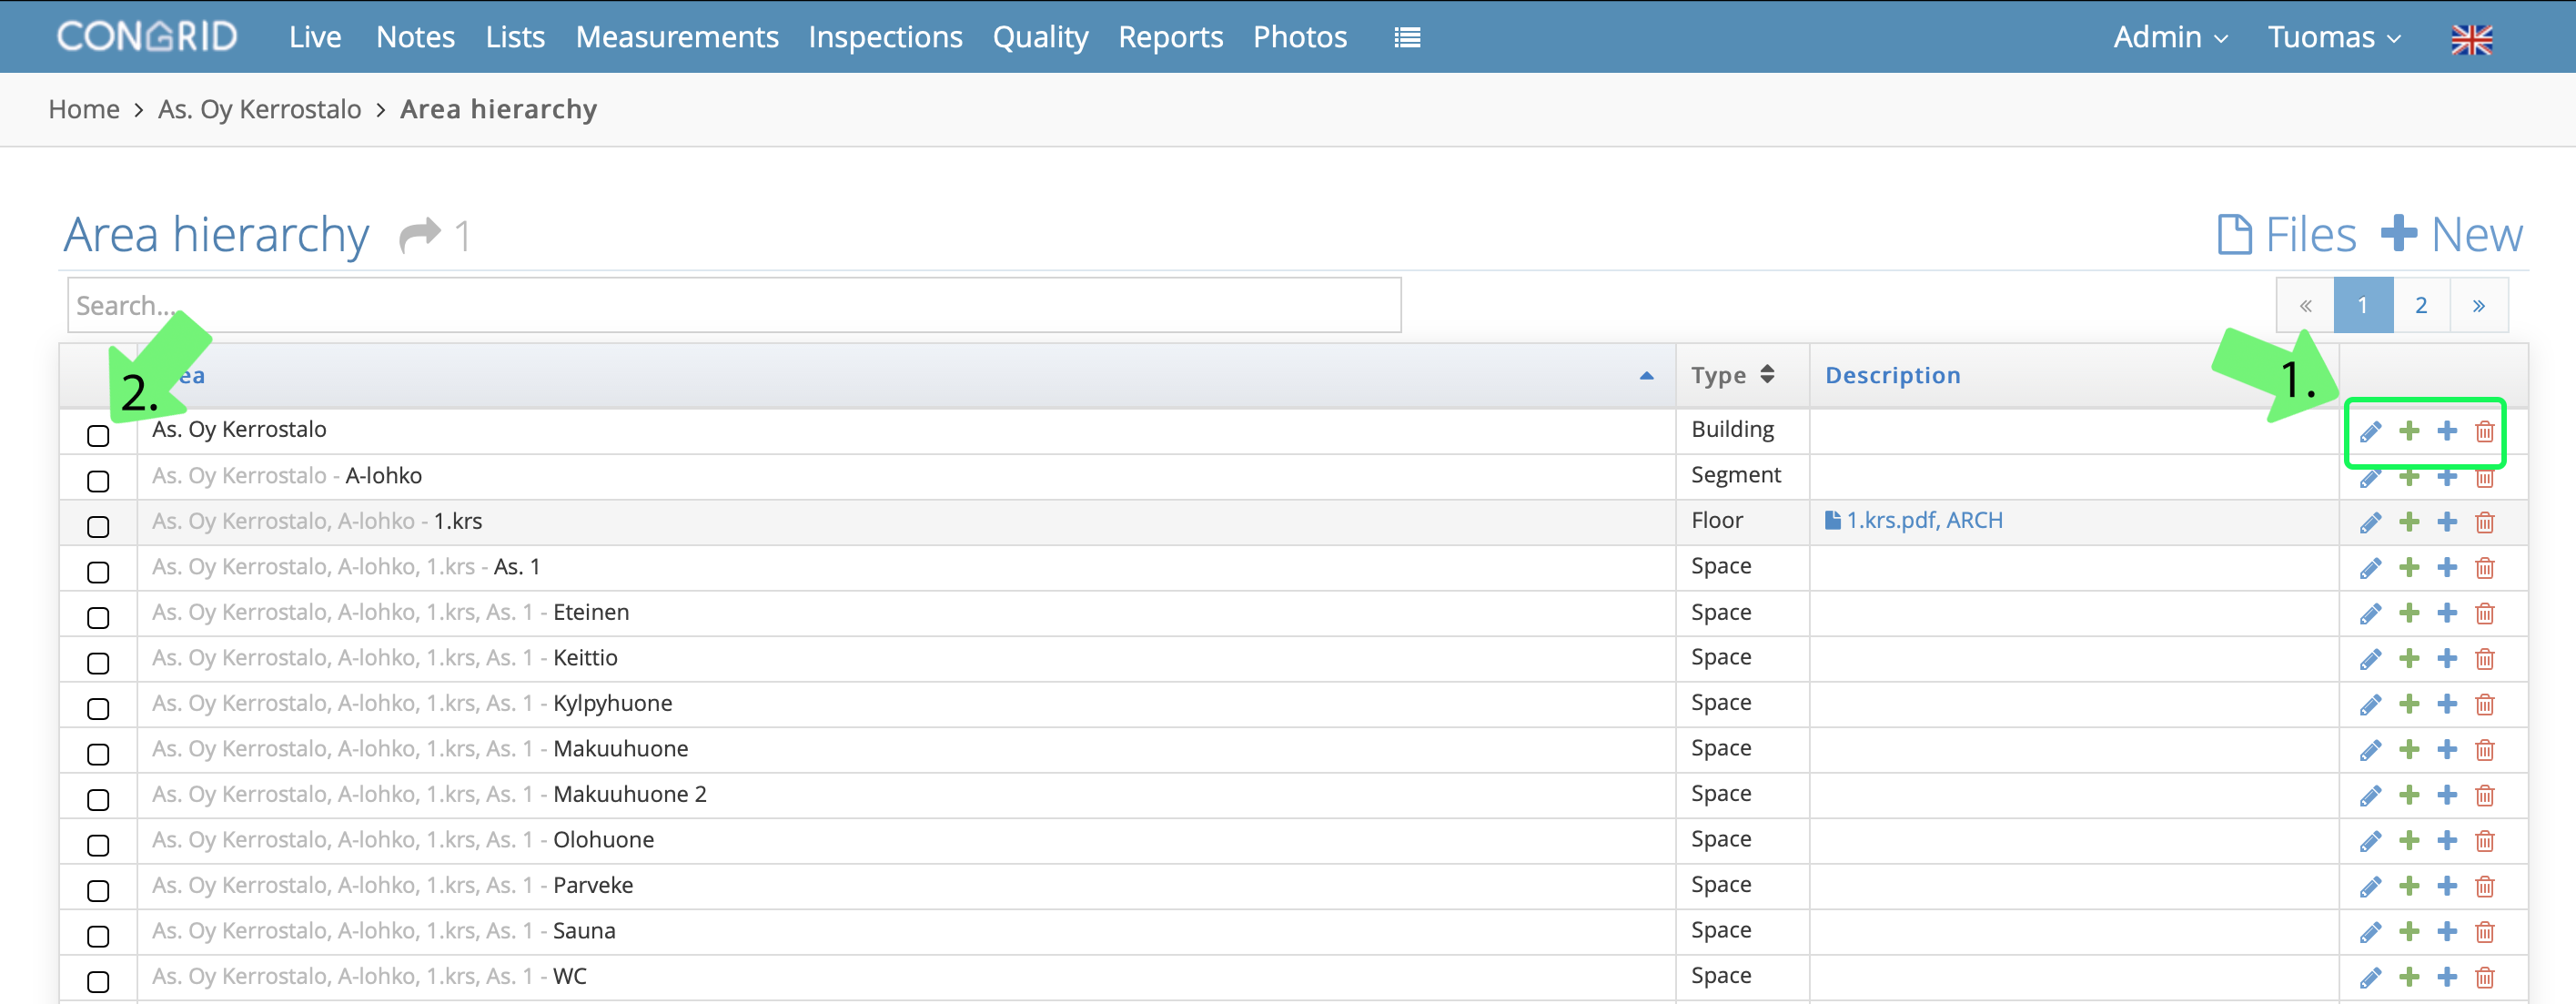
You can edit the Area Hierarchy in the following ways:
1.  Pen Icon - Open the Location's editing menu
 Green Plus Icon - Add new locations. If you click the plus icon on a location, a new location appears below it.
  Blue Plus Icon - Add locations that exist on Congrid Live Service. If you click the plus icon on a location, a new location appears below it.
  Red Wastebasket - Delete location. If you delete a location it's important to note that all locations below it will also be deleted.
2. You can select locations, after which you can change the top level area of multiple locations.
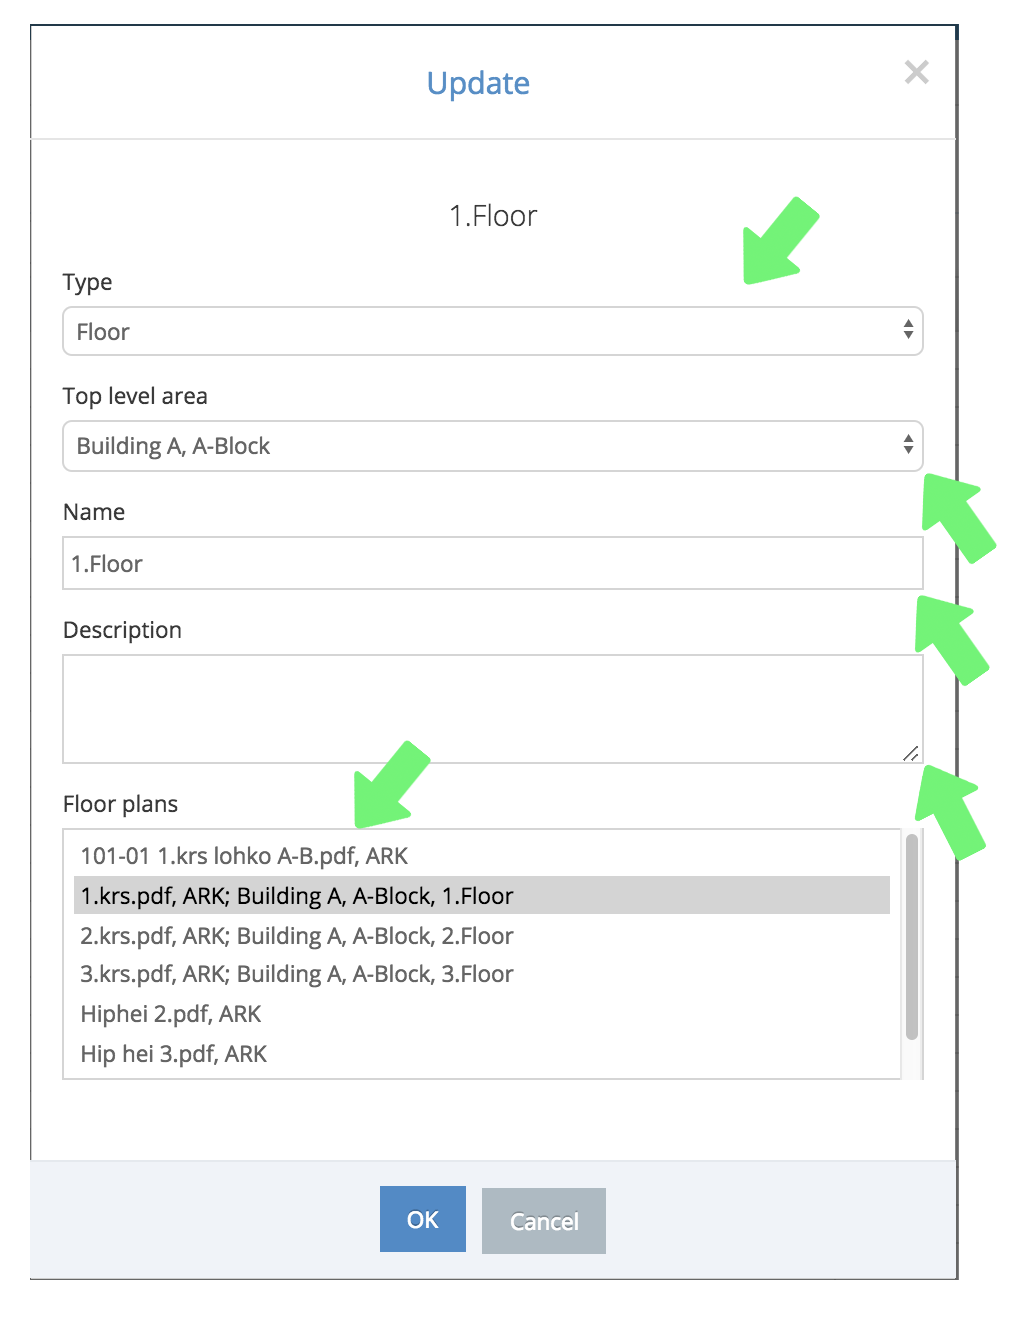
Icon edit window
By clicking the pen icon an editing window appears. You can define location type to be a building, segment, floor, or space. You can also choose an upper location, change the location's name or define a more exact description. You can also add floor plans to the location. (To add multiple floor plans hold down the ctrl-key and select the desired floor plans by clicking them). Note that if space has no floor plan attached to it the mobile application will automatically display the upper space's floor plan)
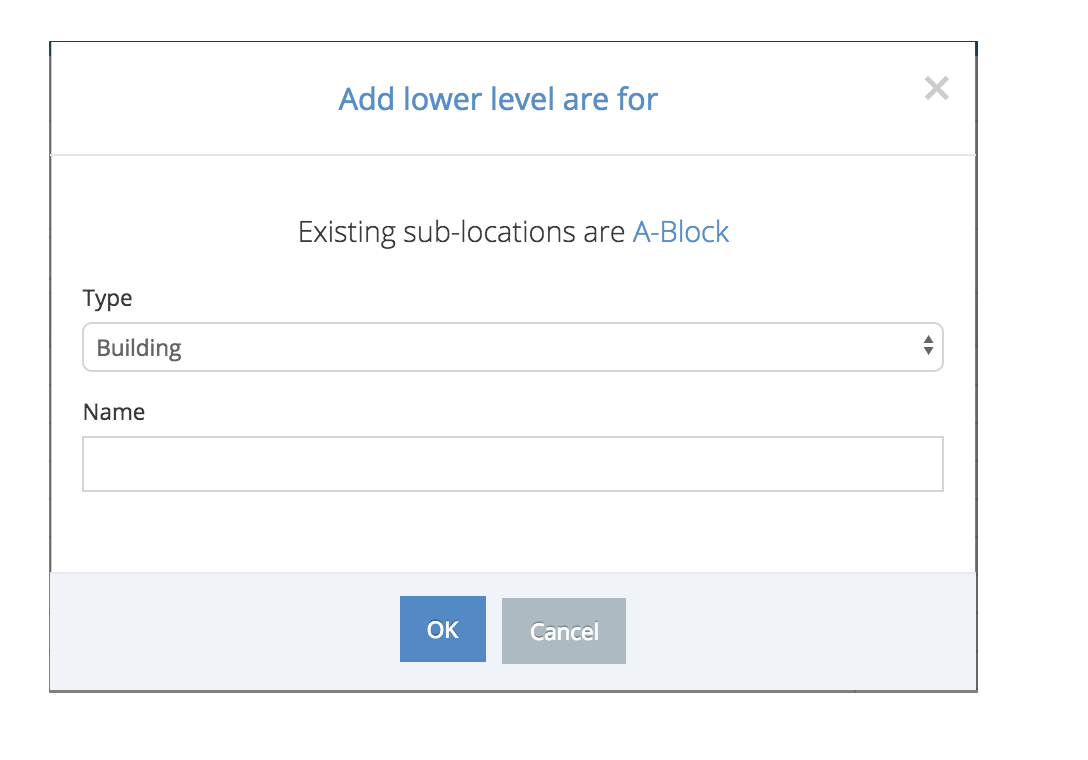
Icon edit window
By clicking the green plus icon you can add a new location below an existing one. Define the location's type and name it if needed. Save by clicking OK or pressing the enter-key. The window does not close in case you want to add more locations. To close the window press "Cancel" or the cross in the top right corner of the window.
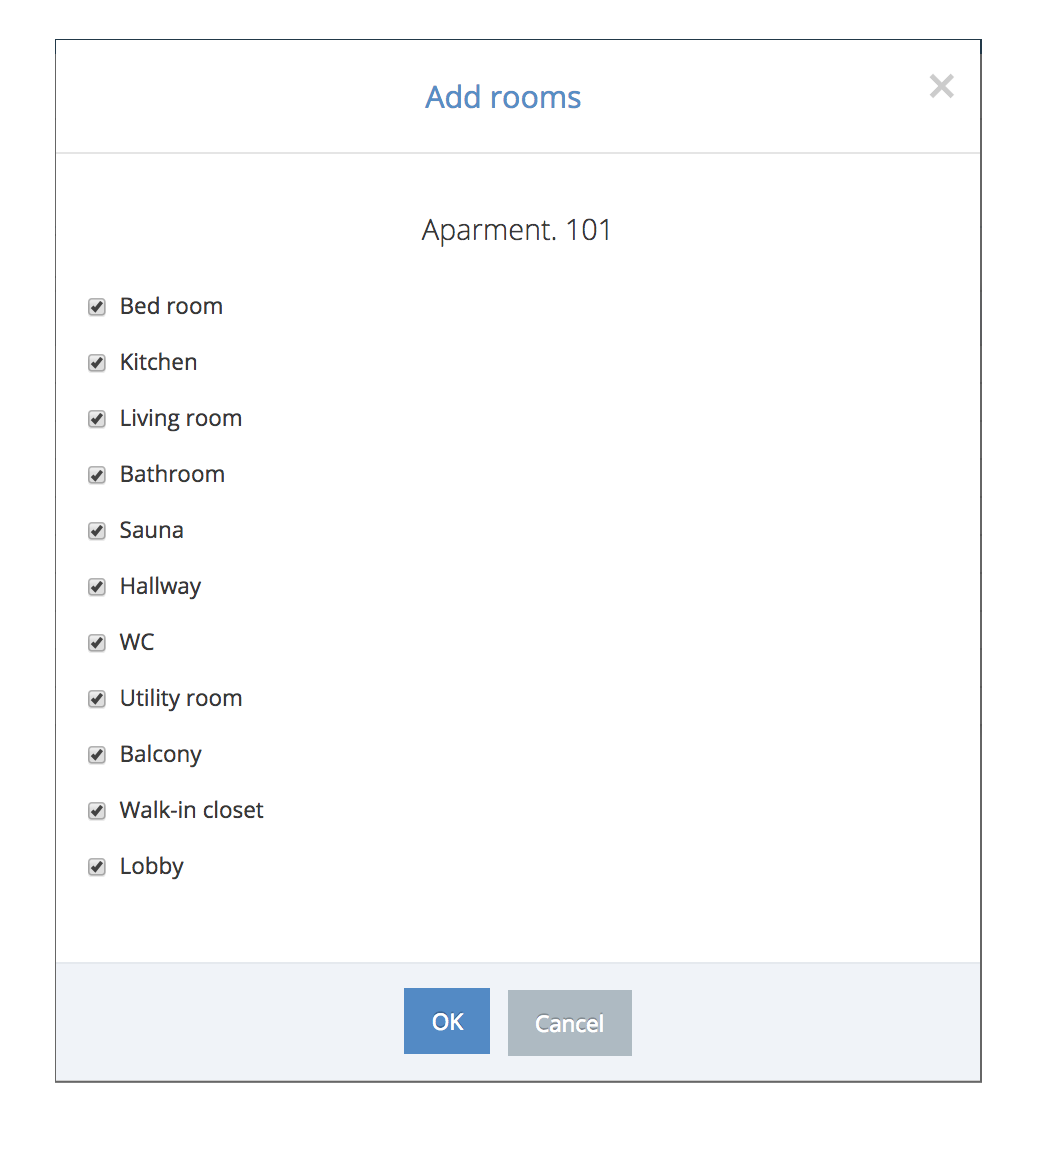
Icon edit window
By clicking the blue plus icon you can add existing sublocations to the upper location. Save by clicking OK.
Trashcan icon
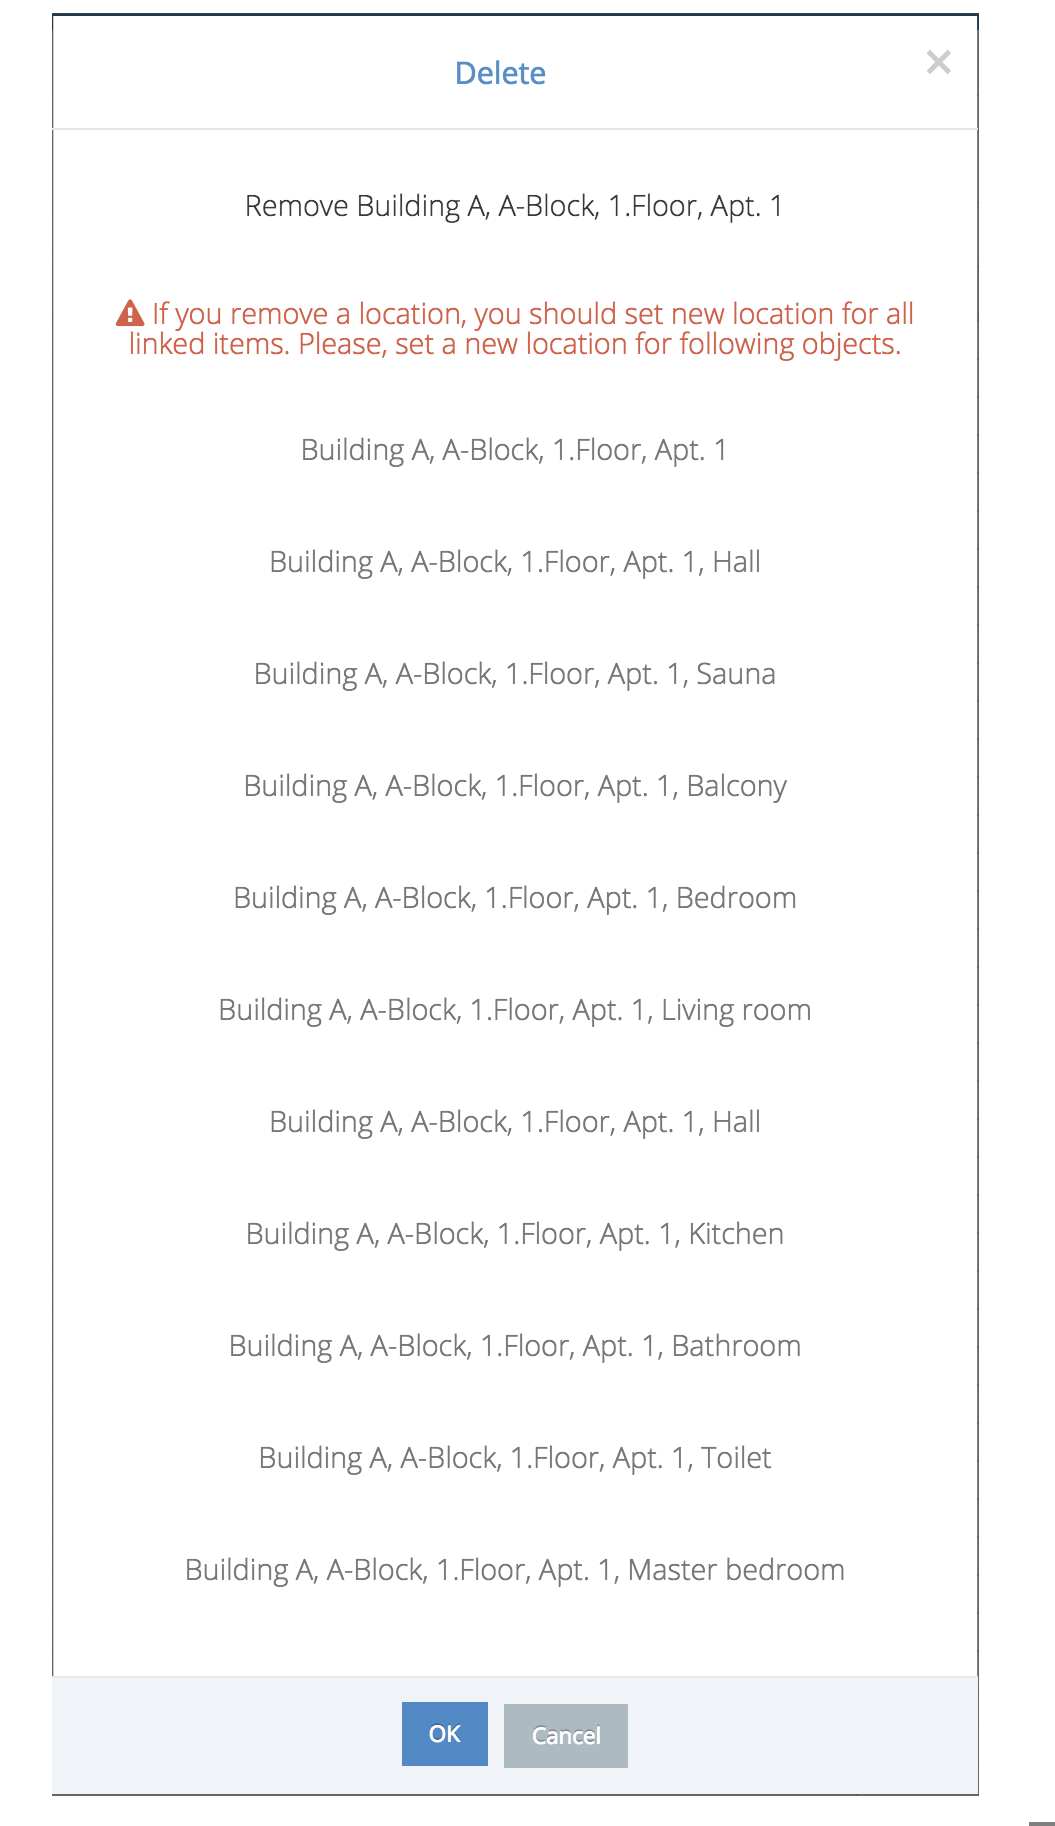
By clicking the red wastebasket you can delete a location. Please note all notes, inspections, measurements, and photos will no longer have a location and you must define a new location for them. Also, note that all sublocations under the deleted location will also be deleted.
 Change the top-level area
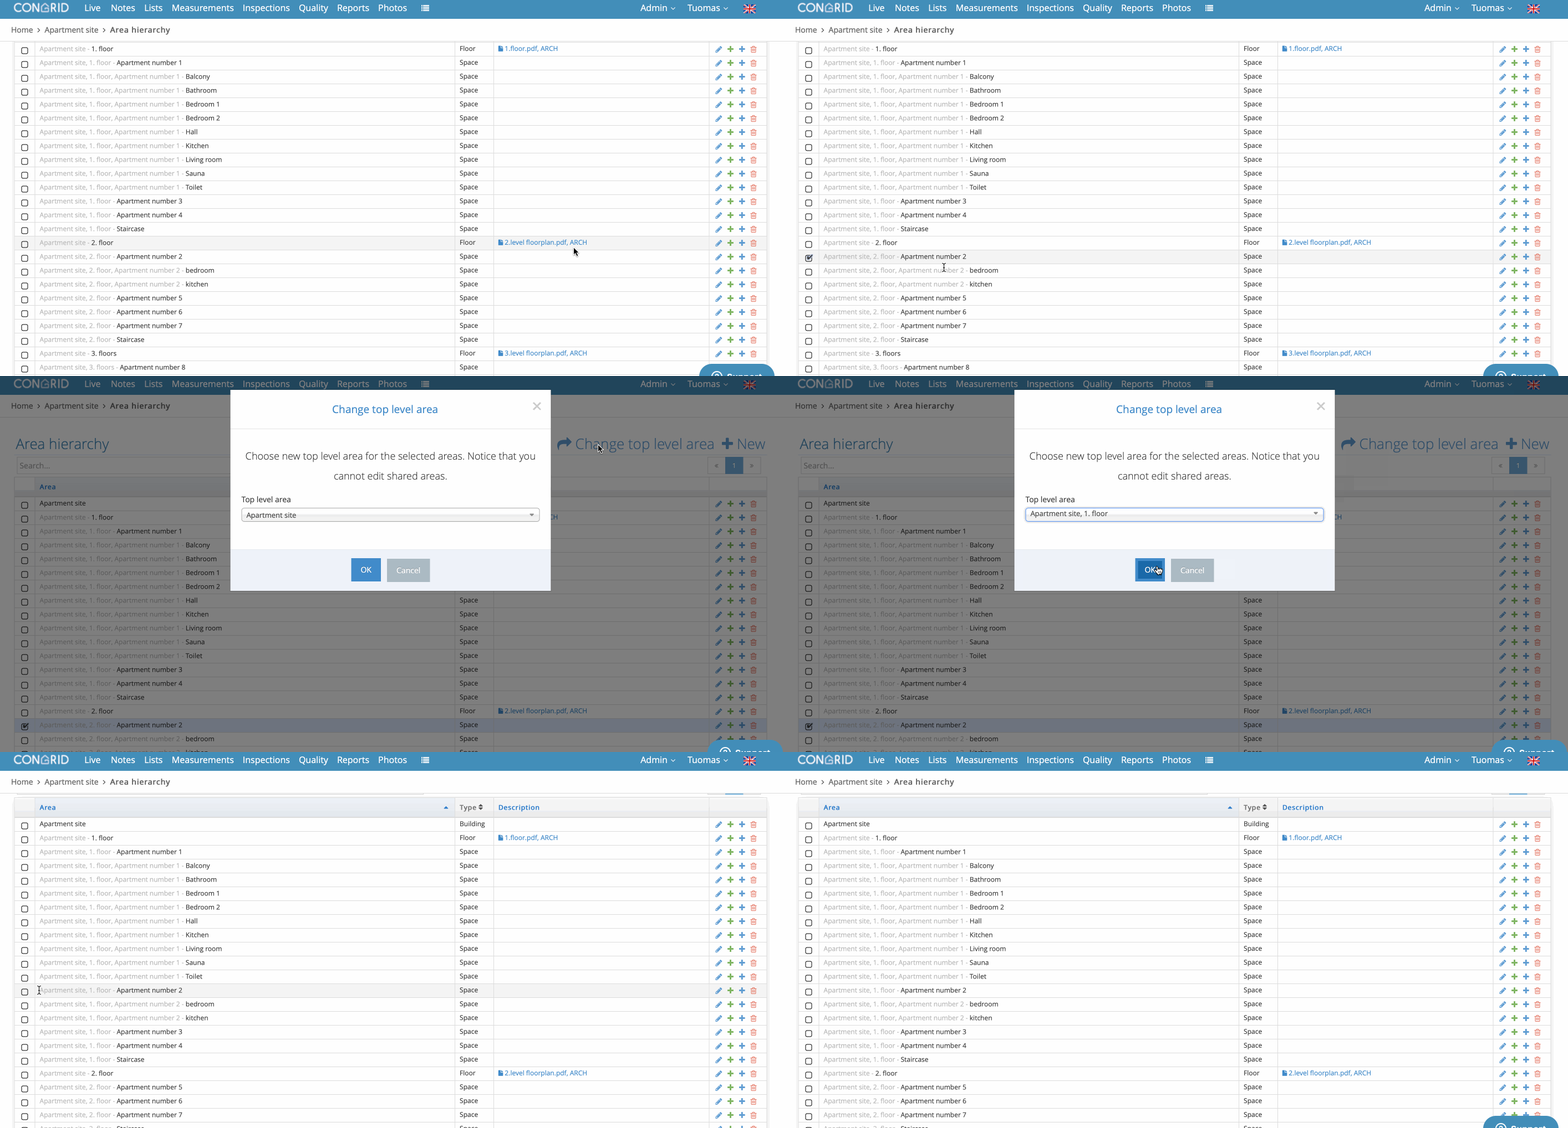
By clicking the check box next to each area, you can change the area's upper level.
When the locations are selected, the text: Change top level area appears at the top of the page. Clicking here opens a pop-up window where a new top level area is defined. The sub-locations and floor plans of the selected location will be moved below the new upper-level area.
- Select the location whose top level area you want to change
- Click Change top level area
- Select a new top level area
Comments
0 comments
Please sign in to leave a comment.