
How to Add Documents
1. Select Documents from the drop-down menu.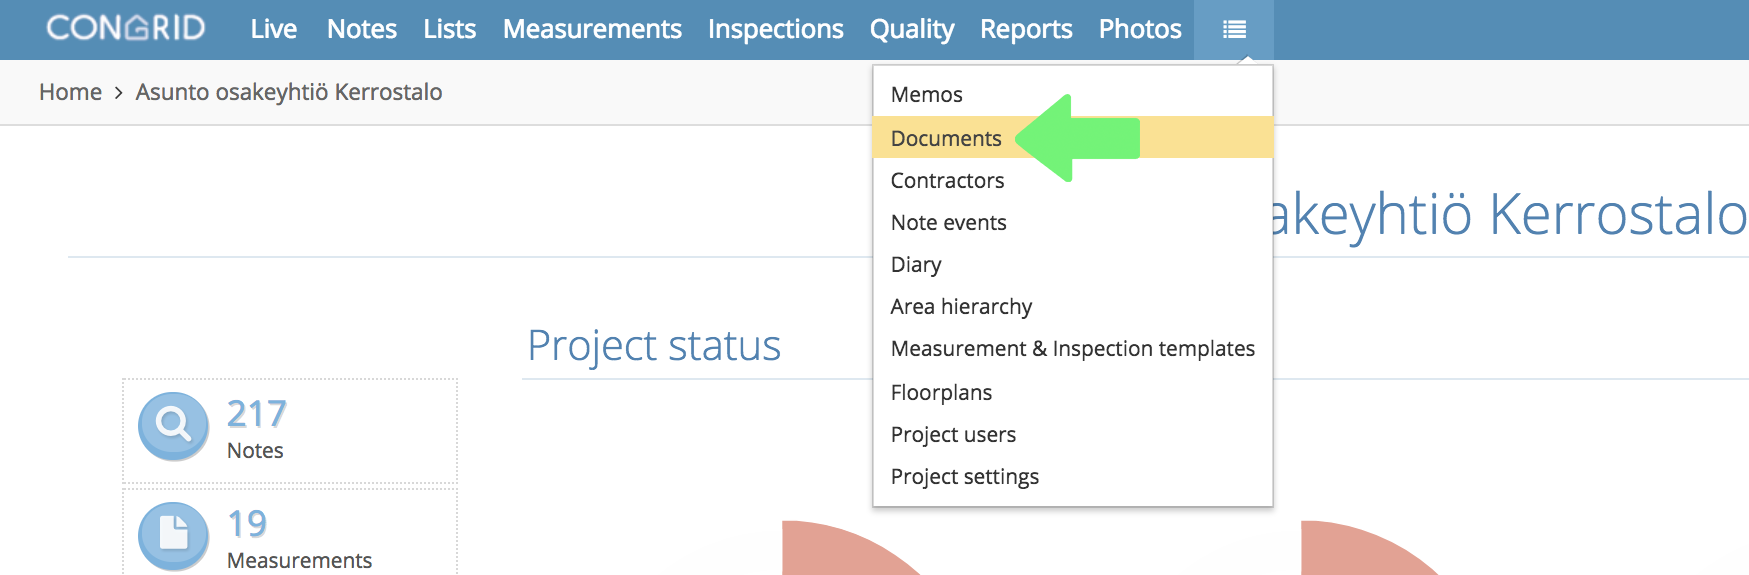
Add a new document by clicking + New.
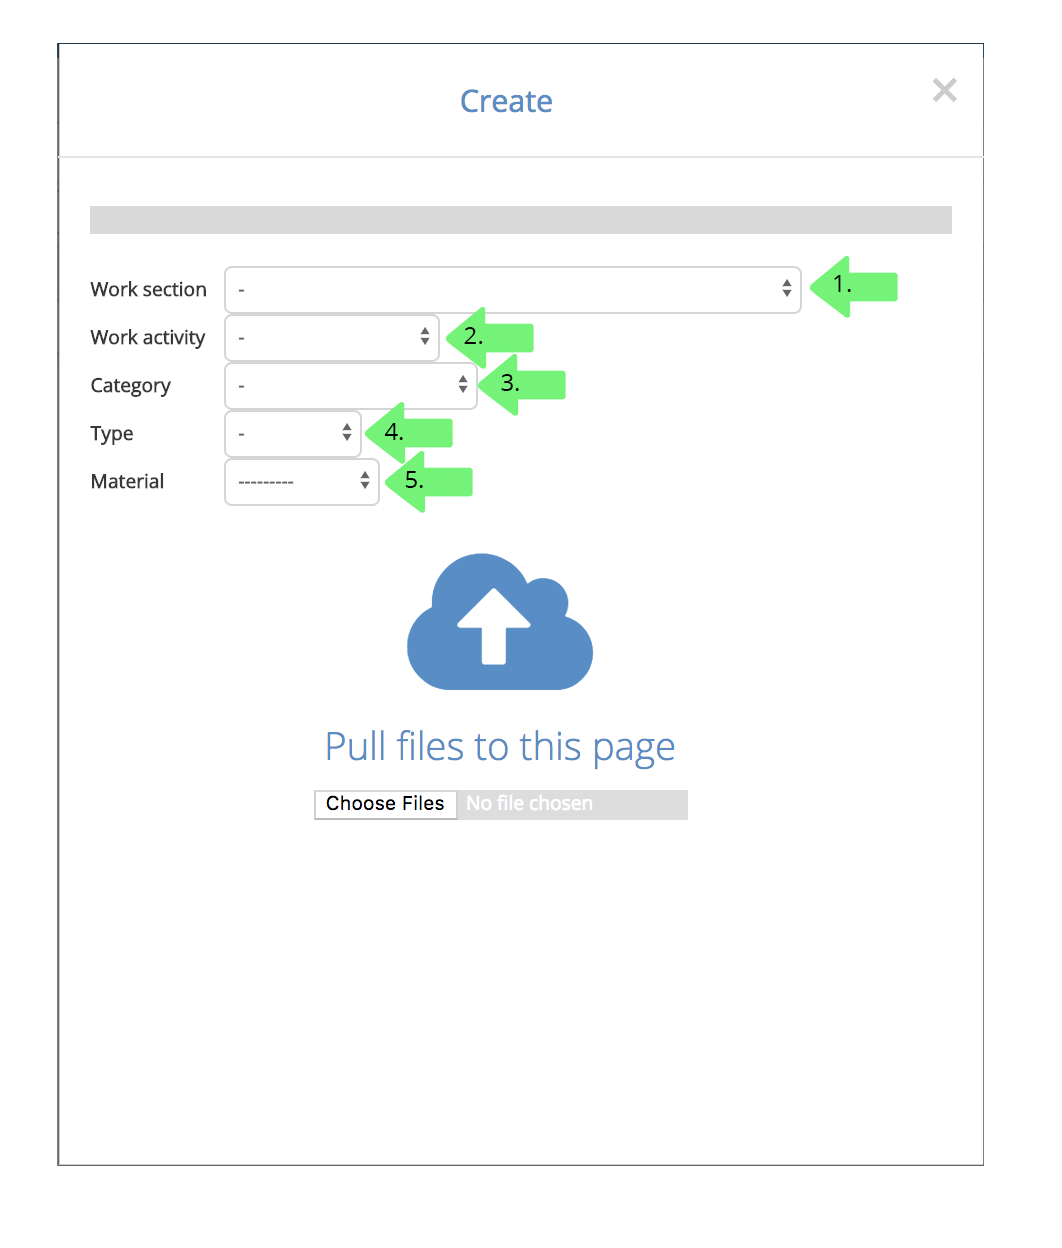
After clicking + New, a page will open where you can determine where a new document will be added to.

1. Choose a work section of a quality matrix that the document is related to
2. Choose which work activity the document is related to.
These work activities and sections are determined bu your selected quality matrix.
(See instructions: Editing a quality matrix).
3. Choose a document's category from the following options:
- Information
- Safety
- Quality
- Cost and schedule
- Environment and Logistics
- Summary
4. Choose a document's type from the following options:
- Agreements
- Document
- Plan
- Costs
- Schedule
5. Define the CE material. If materials haven't been added to the project the field can be left empty.
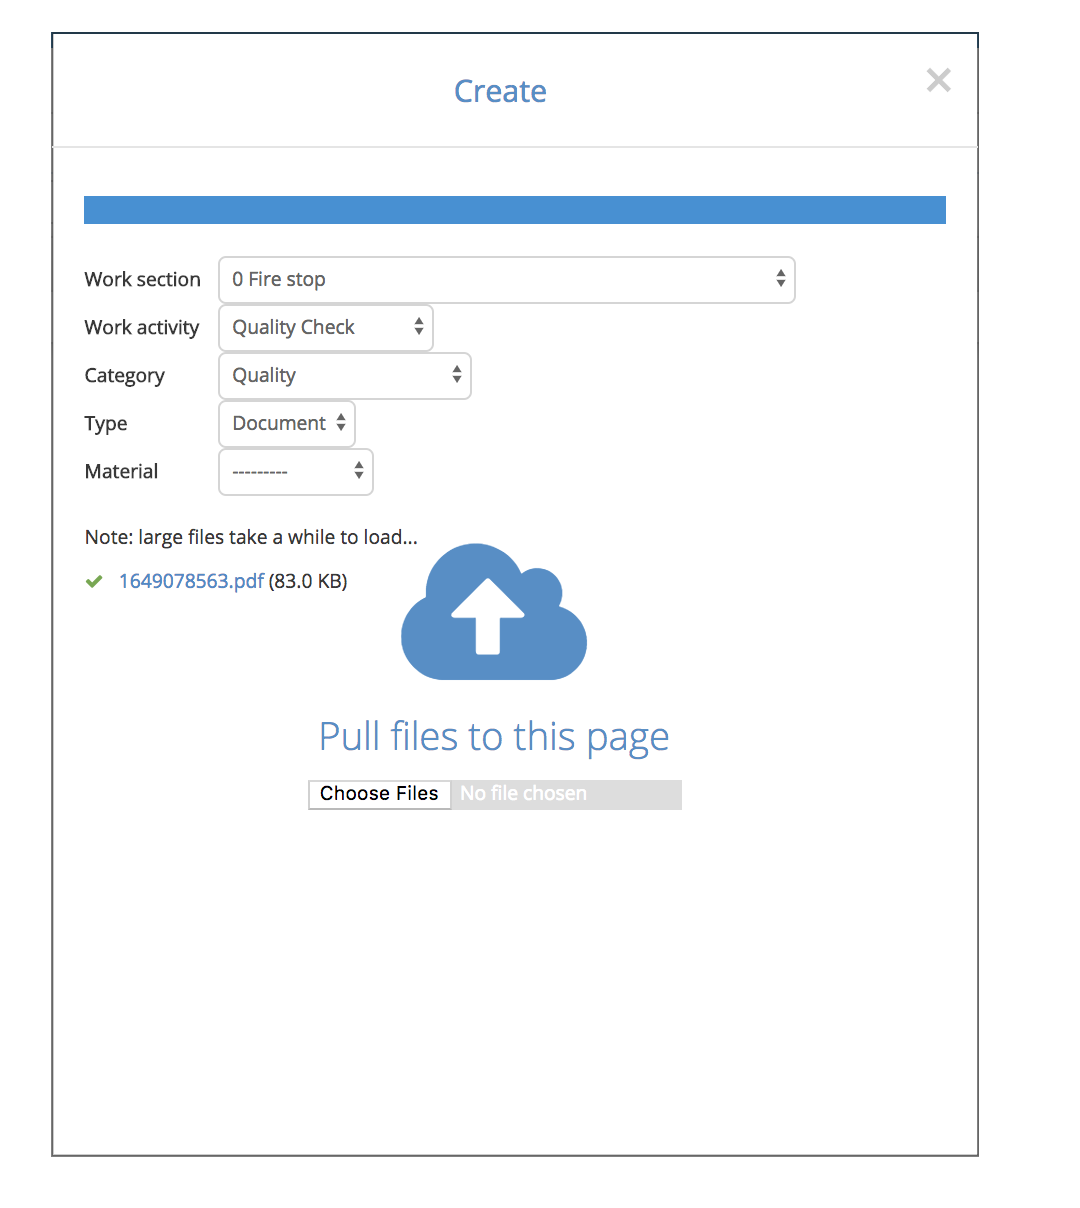
You can upload a file by dragging it on to the cloud-icon or clicking "Choose File".
When an upload is successful, a notification appears. You can keep adding files with same filters or change them. If you don't change a filter, files will go to the same location. You can also add documents without filters and define them later. (See instructions: Deleting and editing documents)
Comments
0 comments
Please sign in to leave a comment.